How do you like your showers? Scalding hot? Chilly, post-workout shower? However you like it, sometimes you might need to increase the temperature or tone it down. It’s one thing to know you need to adjust your water temperature, it is another thing to find the right balance for safety, efficiency, and an enjoyable bathing experience.
Adjusting the water temperature on your water heater is a straightforward process. However, it is important to keep in mind that the specific steps might vary based on the type and model of your water heater.
Here is a step-by-step guide on adjusting the water temperature on your water heater, depending on the type of water heater you have; whether gas or electric.
GAS WATER HEATER
A gas water heater is a type of water heating system that uses natural gas or propane as a fuel source to heat water for domestic use. It is a common and efficient method for providing hot water in residential and commercial buildings.
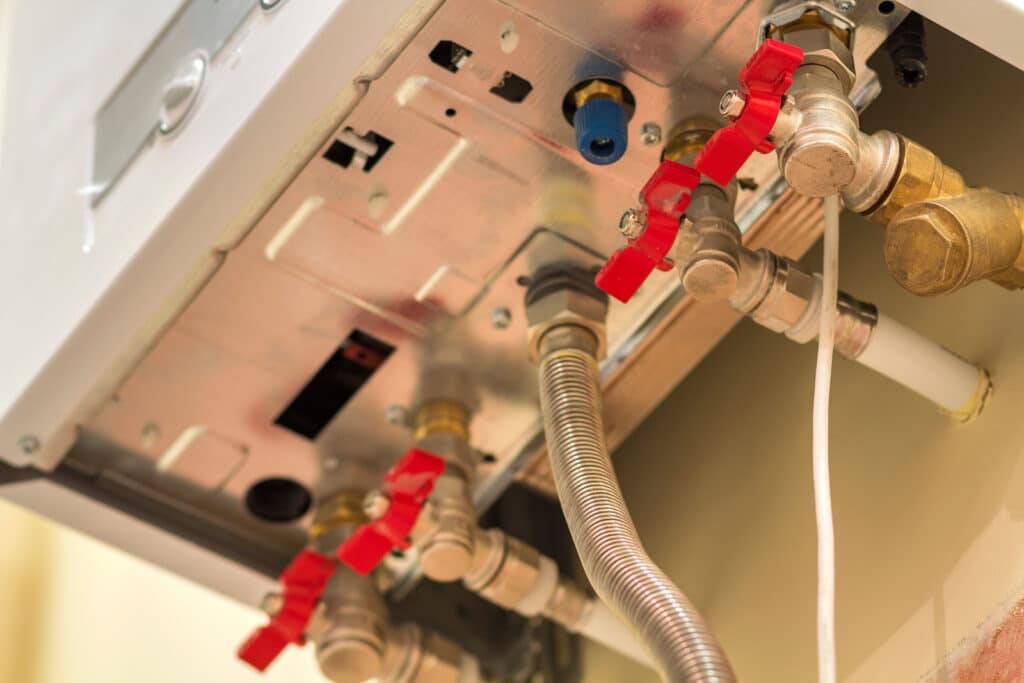
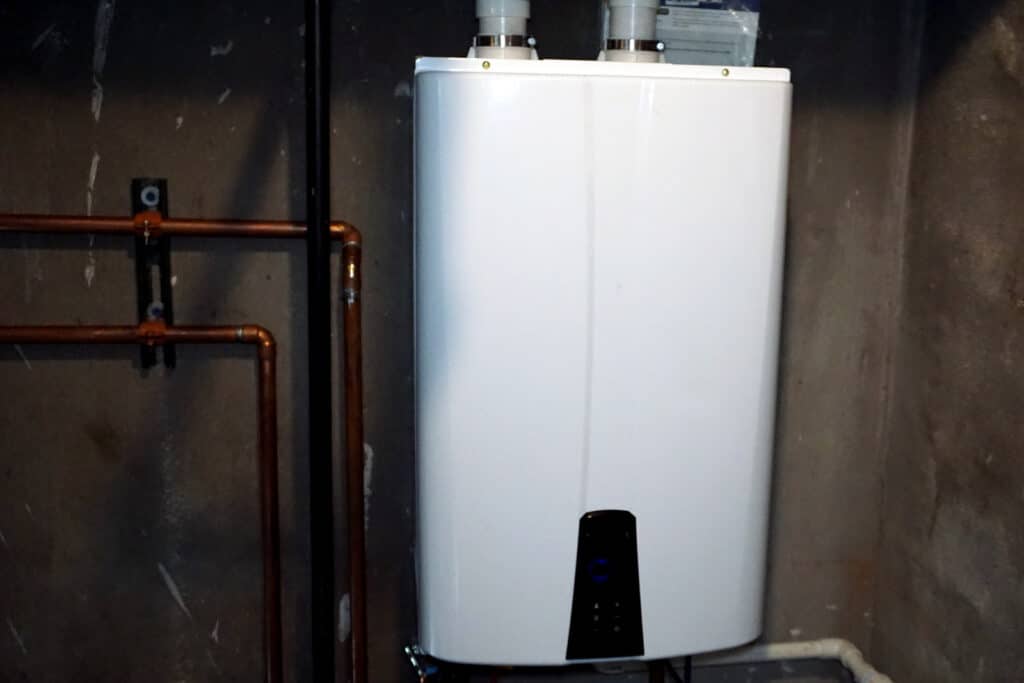
Gas water heaters come in various designs, but the most common types include storage tank water heaters and tankless (on-demand) water heaters.
Important Note: Before adjusting the water temperature, make sure to turn off the gas supply to the water heater and follow all safety guidelines provided in your water heater’s manual. To adjust a gas heater:
1. Locate the gas control valve:
On the gas water heater, find the gas control valve. It is usually located near the bottom of the tank. The control valve may have a knob or dial that allows you to adjust the temperature.
2.Turn off the gas supply:
For safety, turn off the gas supply to the water heater. On the gas control valve, you will find a knob or switch that can be turned to the “Pilot” position. This shuts off the gas flow to the burner.
3. Access the thermostat:
Some gas water heaters have an outer and inner cover. Remove these covers to access the thermostat. The thermostat is the part that regulates the water temperature.
4. Adjust the temperature:
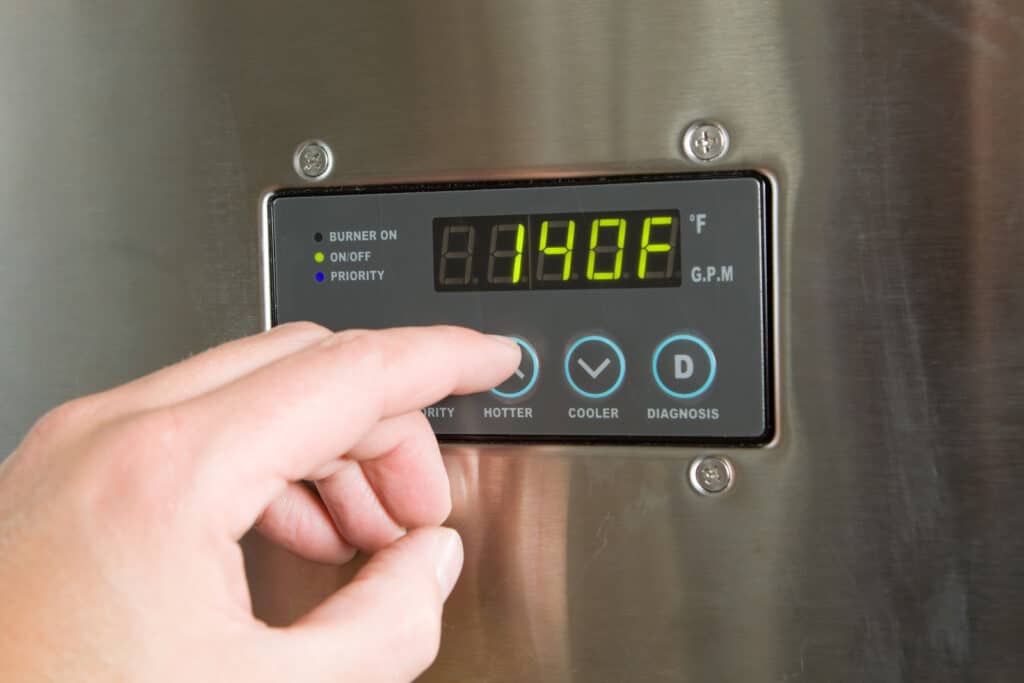
Use a flathead screwdriver to turn the thermostat dial. Typically, you’ll find temperature settings ranging from “Warm” to “Hot” or specific temperature markers in degrees Fahrenheit or Celsius. Thereafter, adjust the setting to your desired water temperature.
5. Check for recommended settings:
Some water heaters have markings indicating the recommended temperature for safe and efficient operation. It’s generally advised to set the temperature to around 120°F (49°C) to prevent scalding and promote energy efficiency.
6. Replace the covers:
Once you’ve adjusted the temperature, securely replace the inner and outer covers of the water heater.
7. Turn on the gas supply:
Turn the gas supply back on by adjusting the gas control valve from “Pilot” to the desired temperature setting. Then, follow the specific instructions provided in your water heater’s manual.
8. Wait for the water to heat:
It may take some time for the water heater to reach the adjusted temperature. Be patient and check the water temperature at a tap after a while.
Read Also: Top 5 Qualities of a Reliable HVAC Inspector
ELECTRIC WATER HEATER
Electric water heaters are known for their simplicity, ease of installation, and absence of flue requirements, as electric units do not produce combustion gases. It is therefore a popular choice for providing hot water in residential and commercial buildings. Electric water heaters come in various designs, with the two most common types being storage tank water heaters and tankless (on-demand) water heaters.
Therefore, here is a guide on how to safely adjust the water temperature on an electric water heater:
1. Locate the Thermostat:
Most water heaters have a thermostat located on the outside of the tank. For traditional tank-style heaters, you can find it near the bottom of the unit.
2. Turn off power:
Before making any adjustments, it’s crucial to turn off the power to the water heater. Since you have an electric water heater, switch off the breaker dedicated to the heater.
3. Remove the cover:
If your thermostat has a cover, remove it to access the temperature adjustment settings.
4. Adjust the temperature:
Use a flathead screwdriver or the appropriate tool to adjust the temperature setting. Some thermostats have a dial, while others may have a screw that you turn. However, you can typically adjust the temperature within the range of 120 to 140 degrees Fahrenheit (49 to 60 degrees Celsius).
5. Check for markings:
Some thermostats have markings indicating the recommended temperature for safe and efficient operation. It’s generally recommended to set the temperature to around 120°F (49°C) to balance comfort and energy efficiency.
6. Replace the cover:
Once you’ve adjusted the temperature, replace the thermostat cover securely.
7. Turn on power:
Turn the power back on by flipping the breaker switch for electric heaters or setting the gas control valve to the desired temperature for gas heaters.
8. Wait for the water to heat:
It may take some time for the water heater to reach the adjusted temperature. Be patient and check the water temperature at a tap after a while.
Conclusion
However, remember, water heaters vary, and these steps provide a general guideline. If, though, you’re unsure or uncomfortable with the process, consider consulting the manufacturer’s manual for your specific water heater model or seek the assistance of a professional, for detailed instructions and safety precautions.
Additionally, setting the water temperature at a safe level helps prevent scalding and promotes energy efficiency.